Acrylic mirrors in a playroom: safety, mounting and keeping them clear

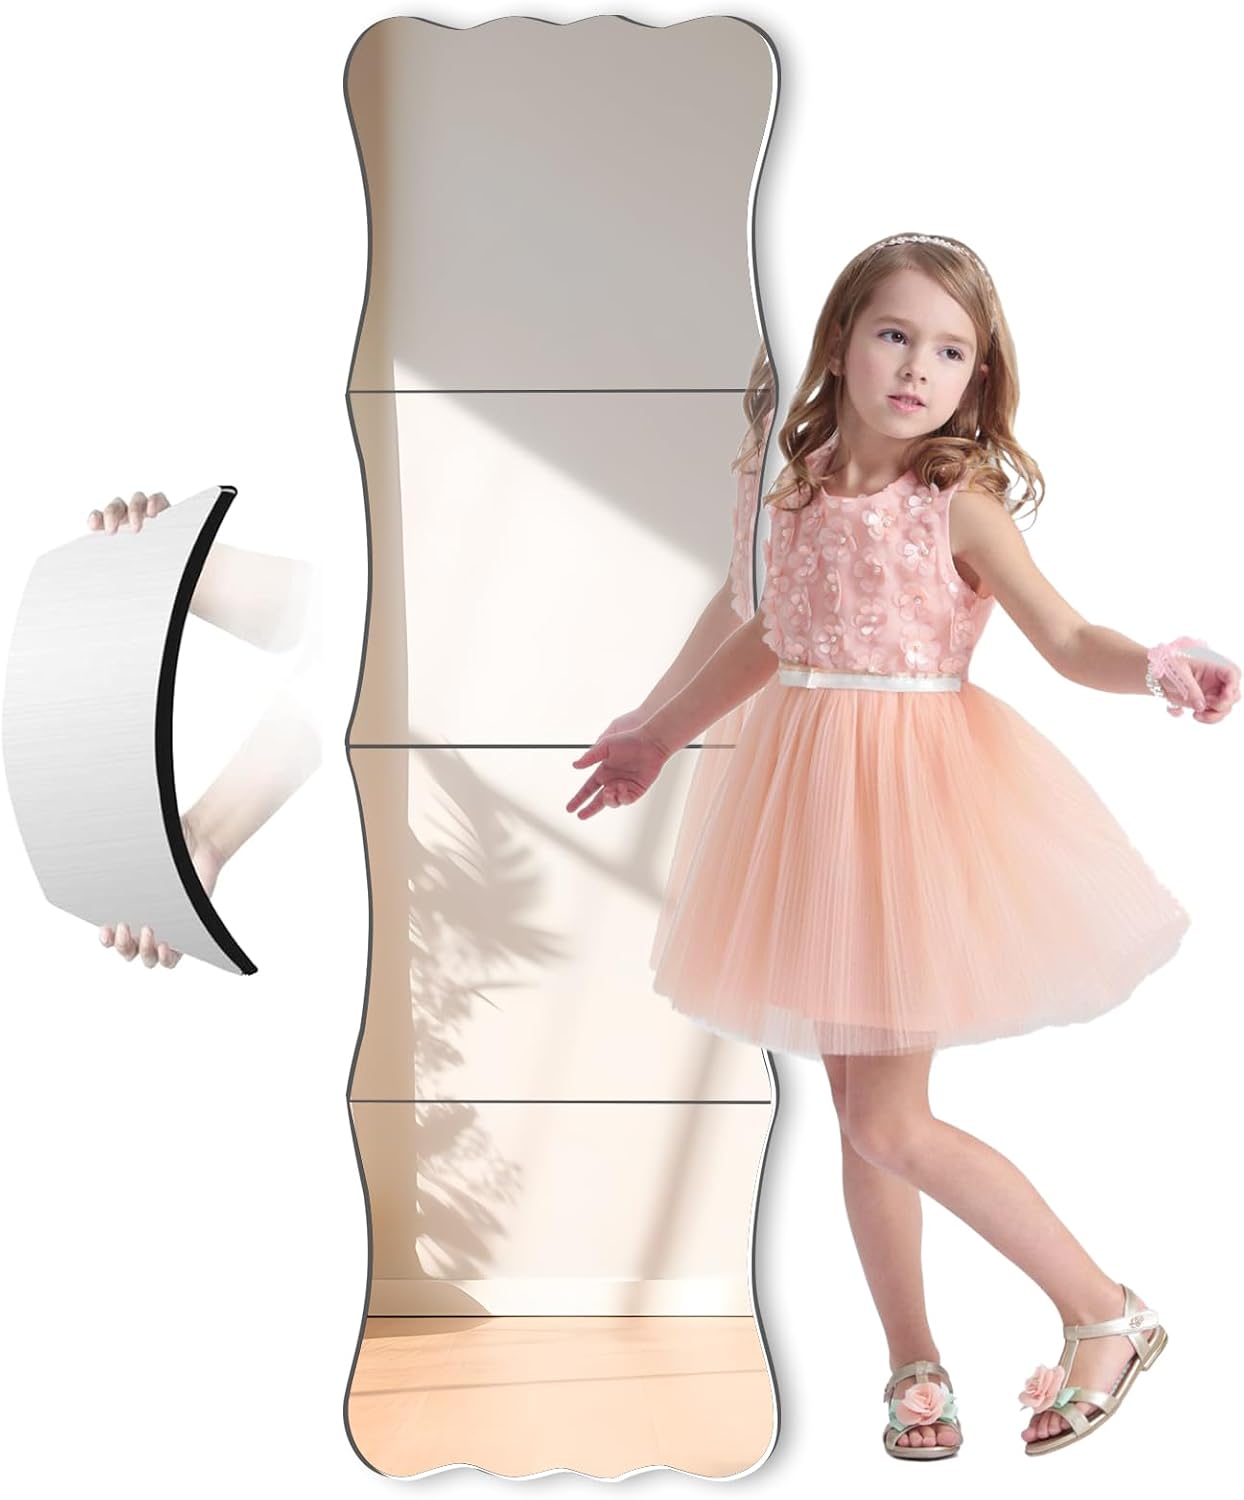
Acrylic mirrors have emerged as a brilliant and practical addition to children’s playrooms, nurseries, and bedrooms. Offering a safer, lighter alternative to traditional glass, they open up a world of possibilities for design and play. From encouraging self-recognition in infants to adding a spacious, bright feel to a room, these versatile reflective surfaces are gaining popularity among parents looking for both aesthetics and peace of mind.
This guide will delve into the essential aspects of integrating acrylic mirrors into your child’s space. We will explore the distinct safety advantages they offer over glass, discuss what constitutes good quality, and provide detailed, practical advice on how to mount them securely. Furthermore, we will cover the best practices for keeping your acrylic mirrors sparkling clean and clear, ensuring they remain a cherished and functional element of the playroom for years to come.
Why Acrylic Over Glass? The Safety Aspect
Acrylic mirrors are a cornerstone of safe playroom design, primarily due to their inherent shatter-resistant properties. Unlike conventional glass, which breaks into sharp, hazardous shards upon impact, acrylic is a robust plastic polymer designed to flex and absorb force. This fundamental difference means that even if an acrylic mirror were to crack under extreme pressure, it would typically remain in one piece, avoiding dangerous fragments.
This enhanced durability provides significant peace of mind for parents and caregivers, knowing that active play and accidental bumps are less likely to result in injury. In environments where children run, jump, and explore, prioritising safety is paramount. Acrylic mirrors offer a practical solution, allowing the incorporation of reflective surfaces without compromising the well-being of little ones during their daily adventures.
Understanding Acrylic Mirror Quality and Clarity
While acrylic mirrors offer superior safety, their optical qualities differ from traditional glass. Glass provides a perfectly rigid, flat surface, resulting in a near-perfect reflection. Acrylic, being a more flexible material, can exhibit minor distortions if not manufactured or mounted correctly. Factors like temperature fluctuations or an uneven wall surface can subtly affect the reflection, making it appear slightly wavy or less precise.
The thickness of the acrylic sheet is a critical determinant of its reflective quality. Thicker acrylic generally offers a more stable and truer reflection, less prone to flexing and subsequent distortion. High-quality manufacturing processes also play a vital role, ensuring the material is uniformly flat and the reflective coating is applied flawlessly. Investing in a good quality acrylic mirror minimises the “funhouse” effect, providing a clearer, more satisfying image.
Selecting the Optimal Location and Height
Strategic placement of an acrylic mirror is crucial for maximising its benefits in a playroom. Consider locations where children can safely interact with their reflection during imaginative play, dance, or self-discovery. Placing mirrors away from high-impact zones, such as directly behind a door or in the path of heavy toys, reduces the likelihood of accidental contact and potential damage to both the mirror and the wall.
When determining height, position the mirror so that children can comfortably see themselves at various ages, from sitting to standing. A lower placement encourages younger children to engage, while a taller mirror caters to growing kids. Also, consider natural light; a mirror can brighten a room by reflecting light, but avoid direct sunlight that might cause glare or heat build-up on the acrylic surface over time.
Preparing the Wall Surface for Installation
Proper surface preparation is perhaps the most overlooked, yet critical, step in successfully mounting an acrylic mirror. A clean, dry, and smooth wall surface is absolutely essential for any mounting method, especially adhesive ones. Dust, dirt, grease, or peeling paint can severely compromise the bond, leading to the mirror detaching over time. Take the time to ensure the surface is pristine.
Begin by wiping down the intended area with a damp cloth, followed by a dry cloth to remove any moisture. For painted walls, ensure the paint is fully cured and not flaking. If the wall has significant texture or imperfections, these should be smoothed out or filled, as an uneven surface can cause the acrylic mirror to distort and prevent a strong, lasting adhesion.
Mounting Methods: High-Bond Adhesives
For many acrylic mirrors, particularly those of lighter weight and smaller to medium sizes, high-bond adhesive tapes and strips offer a convenient and effective mounting solution. These specialised adhesives are designed to create a strong, durable bond with various wall surfaces, including painted plasterboard, wood, and even some smoother wallpapers. They eliminate the need for drilling, making installation quicker and less intrusive.
Choosing the Right Adhesive Type
When selecting adhesive, look for products specifically rated for mirrors or heavy-duty applications. Ensure the adhesive is compatible with both acrylic and your wall type. Before applying, clean both the wall and the back of the mirror thoroughly. Apply strips vertically along the edges and horizontally in the centre for even weight distribution. Press firmly for at least 30 seconds across all adhesive points to activate the bond, then allow the recommended curing time before any further handling.
Mounting Methods: Mechanical Fixings
For larger or heavier acrylic mirrors, or in situations where maximum security is paramount, mechanical fixings such as screws with decorative stand-offs or appropriate clips provide the most robust installation. This method ensures the mirror is firmly anchored to the wall, offering superior stability and resistance to accidental knocks, making it an excellent choice for high-traffic playroom areas.
Pre-Drilling and Protecting the Acrylic
When using mechanical fixings, it is crucial to pre-drill holes through the acrylic itself to prevent cracking or splintering. Use a drill bit specifically designed for plastics, starting with a small pilot hole and gradually increasing the size. Always support the acrylic from underneath during drilling and use a slow speed to avoid heat build-up. Once holes are drilled, use appropriate wall plugs for the wall material and secure the mirror with screws, using washers or stand-offs to prevent overtightening and direct pressure on the acrylic.
Initial Cleaning and Dust Removal
Once your acrylic mirror is securely mounted and the protective film has been carefully peeled away, the first clean is important to ensure a clear, streak-free reflection. The removal of the film can sometimes leave behind a slight residue or static charge, attracting dust particles. A gentle approach is key to avoid any immediate damage or scratching to the newly exposed surface.
Begin by lightly dusting the mirror with a soft, lint-free microfibre cloth to remove any loose particles. For a more thorough initial clean, dampen a separate microfibre cloth with plain water or a very mild, non-abrasive soap solution. Gently wipe the surface in one direction, then immediately follow with a dry, clean microfibre cloth to buff away any moisture and prevent water spots or streaks.
Maintaining Clarity: Cleaning Routines and Products
To keep your acrylic mirror looking its best, a regular cleaning routine is advisable. For daily dust and light smudges, a quick wipe with a dry, soft microfibre cloth is often sufficient. For more stubborn marks or fingerprints, use a spray bottle with plain water or a specialist acrylic cleaner, which is formulated to be gentle on the surface while effectively removing grime without causing damage.
It is crucial to avoid abrasive cleaners, ammonia-based products (like many glass cleaners), or paper towels, as these can scratch the acrylic surface over time, leading to cloudiness or a dull finish. Always spray the cleaning solution onto your cloth first, rather than directly onto the mirror, to prevent drips and ensure even application. With consistent, gentle care, your acrylic mirror from AREA New York will remain a bright, engaging feature in your playroom.
The short version
- Prioritise safety: Choose acrylic over glass for its shatter-resistant properties, ensuring a safer playroom environment for active children.
- Secure mounting is essential: Whether using high-bond adhesives or mechanical fixings, always prepare the wall surface thoroughly and follow installation instructions carefully for stability and longevity.
- Clean gently and regularly: Use soft microfibre cloths and plain water or specialist acrylic cleaners; avoid abrasive materials or harsh chemicals to maintain clarity and prevent scratches.
Where to go next
Everything discussed here sits under Mirrors and Clocks in our shop. Delivery and returns are set out on the Shipping Policy and Refund and Returns Policy pages. If something here does not answer your question, ask us directly — we would rather talk it through than have you buy the wrong thing.